Dance, Zombie, Dance!
Who is the puppet master? The animator! Read on to see how Carter makes zombies bend to his will.
Call me Carter. Or you can call me the “Sarge,” if you’re the “Priest” (or if you’re feeling frisky). Only my wife and doctor call me David. Over the past 23 years, I’ve run the gamut of game art, from character/weapon design and animation on the original Unreal and Unreal Tournament, leading animation for the Red Faction franchise and The Punisher, art direction on Saints Row 2, studio animation director for Brothers in Arms: Hell’s Highway and Borderlands, and, for the past four years, serving as senior artist/animator/motion capture director for Sony on PlanetSide 2 and H1Z1.
Today we’re going to make one of our zombies do an appropriately “haunting” dance. I laid hands on a few pieces of dance motion, that - when chained together - should give us what we’re looking for. First we need a zombie. This one should do.
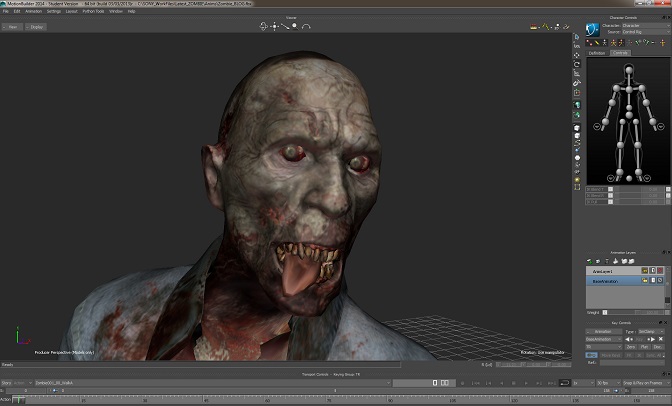
Next we’ll need those source motions to build into our dance animation. I have four sequences in four separate files containing the dance steps we want. We’ll need to merge these together in a single file along with our zombie buddy.
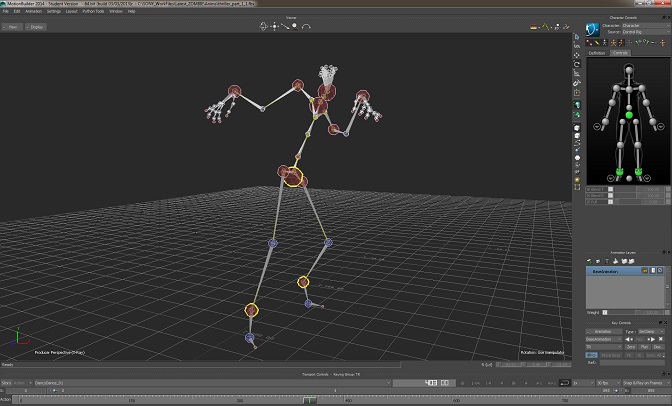
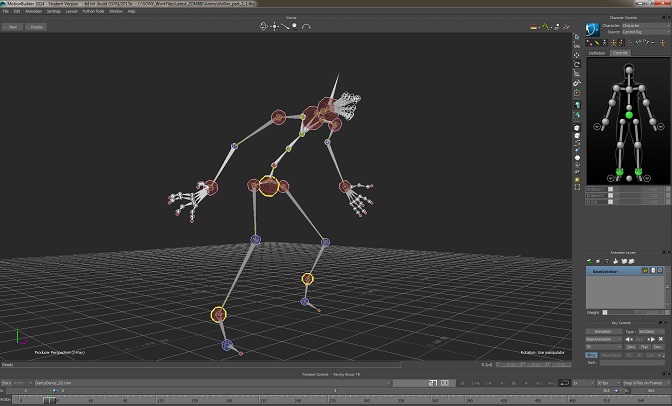
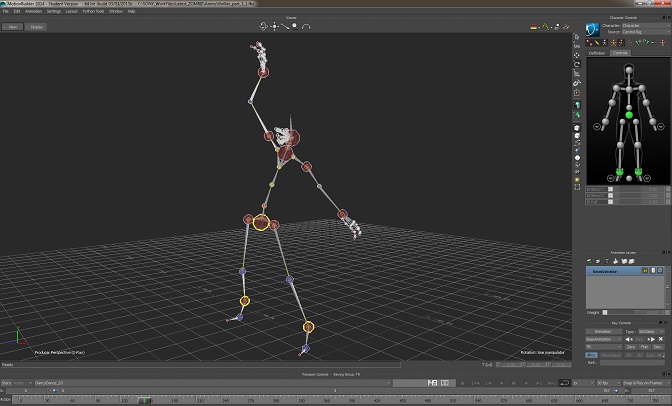
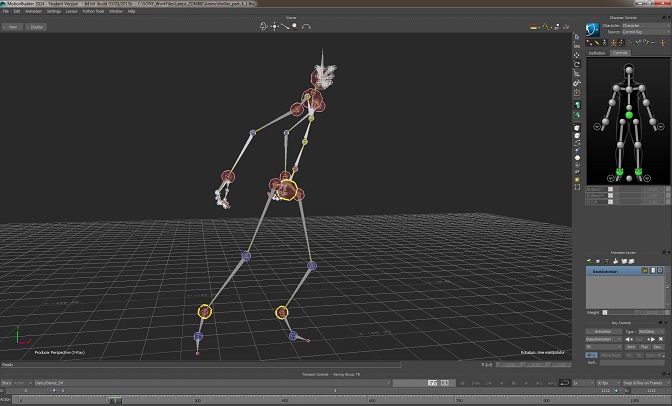
I’ll start by loading our zombie model with his skeleton into Motion Builder, characterizing him and assigning a control rig. Characterizing the zombie is a process in which we define which skeletal bones drive what parts of his anatomy, arm bones, leg bones, spine and head bones, etc. This allows us to then assign a control rig, in turn enabling us to animate those bones using inverse and forward kinematics [IK/FK]. The result is that we can grab the hand and position it where we like, while the arms bones (or even the spine down to the feet, depending on the parameters we set for the rig) automatically twist and bend as you would expect them to, in order to get that hand where we want it.
Now that the zombie has a control rig and he’s ready to animate in Motion Builder, we’ll merge in those four different dance sequences along with a base idle motion that blends into the first dance move.
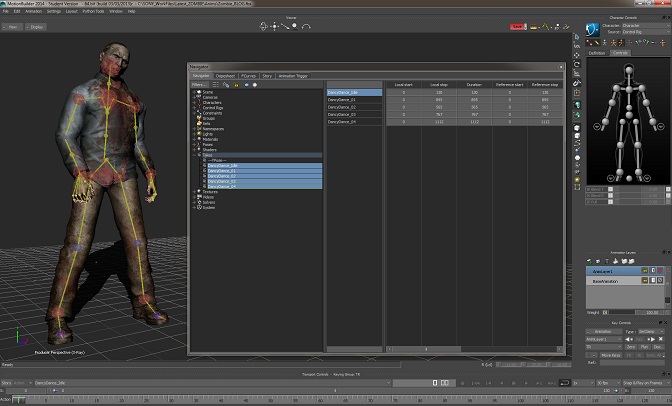
Let’s open up Motion Builder’s story mode window and start gluing these moves together. First, I’ll duplicate the Idle move and name it Dance_Full. We’ll merge the remaining dance moves on top of this animation, blending their start and end points to get our final dance.
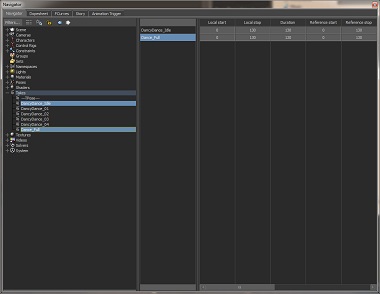
Next we’ll insert a character track into the story mode window and assign our character as the target for our story mode editing. With that done, we can now pull in our individual dance takes and begin blending things smoothly.
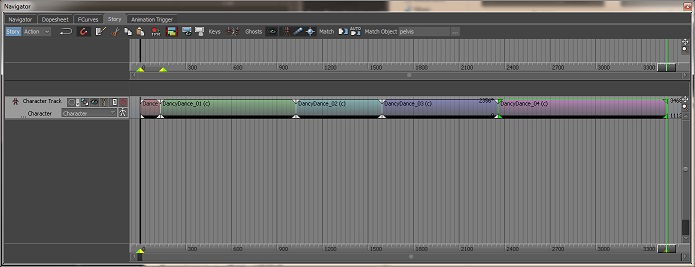
All the tracks are together now, end-to-end. But each of the takes are resetting back to the origin, xyz=0,0,0 on the world axis. So he’s dancing a good distance away from the start, and when the next take starts he’s popping back to that start point at the origin. We need to fix that. So we’ll use the story mode “Match Options” to force the character to begin animating the next group of dance moves from the exact position where the previous take left off. The pelvis should be a good object to use for matching these positions.
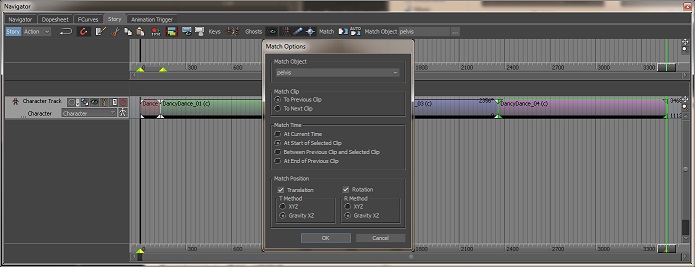
It’s looking better now. I’ll add in some simple camera motion, so we can follow the zombie around a bit as he dances and render out the entire thing. Let’s see what we get.
There you have it. Unfortunately, we’re too busy working on Early Access for me to afford time to attach an audio track. So, you’ll have to put your beatbox skills to work or queue up your own music to get the full effect. We’re having a great deal of fun bringing life to the characters of H1Z1, and are super excited to see you all enjoy the results of our efforts.
-Carter
Who is the Priest? He’s the reverend brother [tech guru] guiding the souls of our creation across the river Styx [Natural Motion’s Morpheme Animation System], delivering them safely to the shores of the Underworld [H1Z1’s AI, input control and physics systems]. Peace be with the Priest.



Stay Connected and Follow Us on: