A Trophy to (Not) Die For
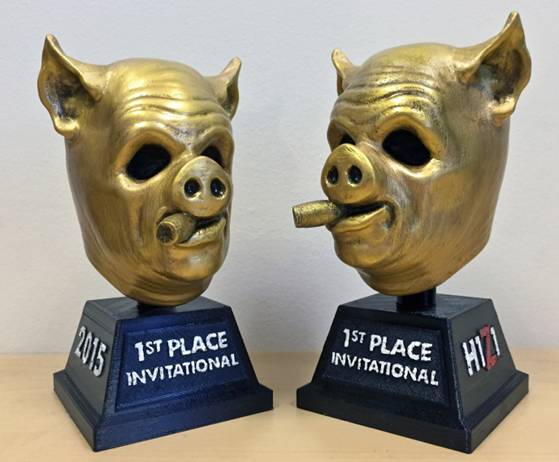
Jeff Jonas gives us a look at the creation of the Invitational 1st Place Trophy!
So here at the H1Z1 studio, we had a little project materialize to support TwitchCon. It happened like a happy accident.
The project initially, and unintentionally, started a while ago when ace Senior Artist Ryan Zimmermann (of Zimm’s) decided to make a fun mask on his own for the H1Z1 game. He just brought in the crazy rubber pig mask and wowed the whole team after working on it at home over a weekend or so. Everybody wanted that kind of iconic mayhem in the game, and it’s still a very popular item.
Fast forward a few months to TwitchCon 2015 and the mask resurfaces in another form. Somebody had the idea to make trophies--- real ones, not just in-game -- for the Battle Royale Invitational, so the team started coming up with possible solutions.
Newcomer to the H1Z1 team, Senior Character Artist Kacey Helms, turned “Zimm’s” original Mask 3D art into a design for the trophy and base. Senior Software Engineer Grat Crabtree (but more famously known for Grat’s Refried Beans and Chili) offered to take the 3D mesh of the pig mask and render it on a stand with his 3D printer. He brought in a rough test of it, and then it was green-lit—which just means we all decided that it was a good idea and started on the task.
Kacey experimented with a number of plaque designs for the base. Some of these were a bit too complex for the 3D print medium, so she went with clear text designs (that I think turned out awesome!). I* was asked to try to paint it up, and since we needed a couple of them, to do it quickly.
*That would be me: Jeff Jonas, Senior Artist, who also gets to invent things for the game like Romero’s and Pleasant Valley, and make the cars out of spare parts.
I am somewhat skilled at modeling and painting physical things, which is why they asked me to give it a go. My challenge was that I hadn’t worked with the material before. He had used PETG plastic, which worked out since it is commonly painted with normal hobby paints. Also, 3D prints have striations and some cracks/infirmities that would need to be addressed. Some recommended a Resin paste for dealing with this, but I grabbed up the box and took it to my home studio—where the brushes, spray paint, metal files, and sanders are stashed.
The first thing I did was inspect the trophies. These were printed in two parts. The bases were a black, shiny material, and the faces were white. The bases were relatively clean; they mostly had some wiry filaments that I had to pull off. The faces were more of a challenge due to the number of pits and striations. There would be filling!
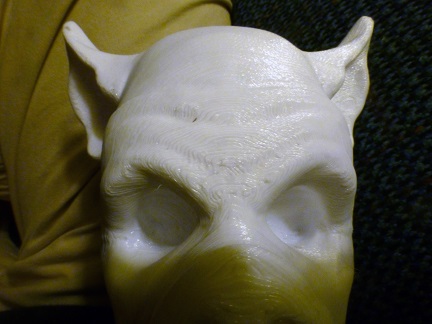
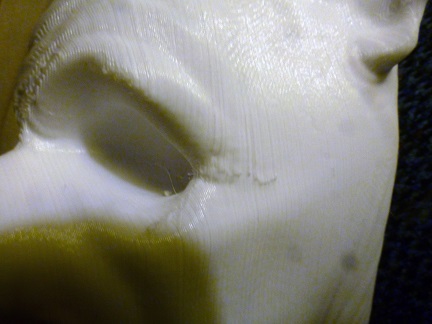
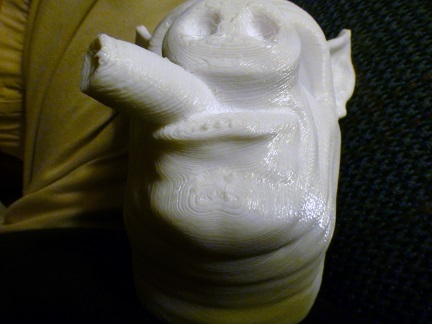
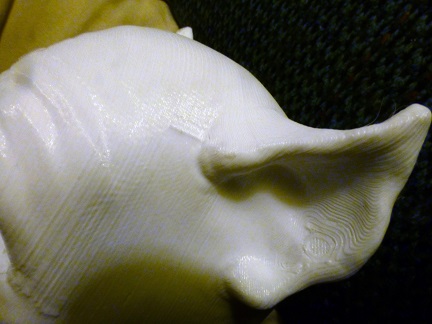
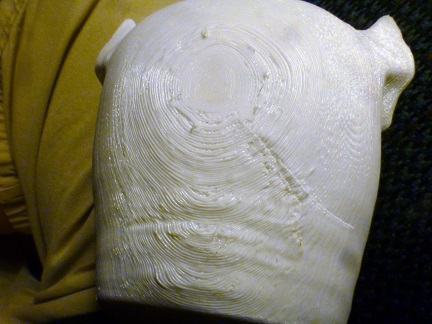
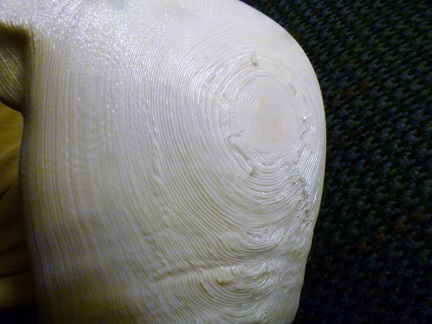
I documented the process with some photos, to remember the before and after. The first photos reveal the issues on the back side where there were cracks and where the striation patterns mesh up the aesthetic of the front details. I had tested some new gold spray paint on the test sample provide by Grat, and that was good to go, and I knew Acrylic Hobby paints would work fine. But how was I going to make these surfaces work for me and end up with a pleasant result? Elbow grease was the only solution!
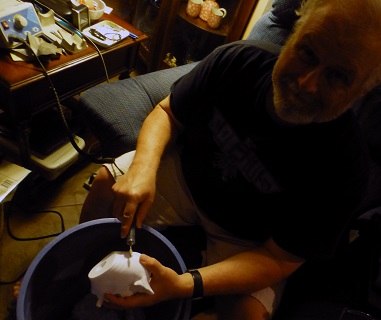
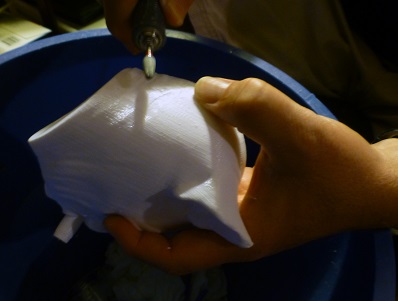
I decided to sand down each trophy with some heavy and light grit sandpaper. Then I needed to get into the crevices and get out filaments and sprue and other bumps. So I borrowed my Dental Tech wife’s hi-whizz-bang Dental Hand tool to grind those places out. My plan was to coat the trophy in Gesso once I had a cleaned up base—Gesso is a pasty paint like substance that is thick and clings to things well, and can be sanded.
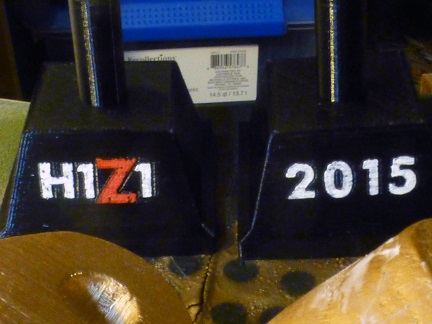
While those were setting, I was able to tackle the bases. The plan with those was to do touch ups, paint the text, and then seal them with Future Acrylic sealer, something that modelers often use to get high sheen and sturdy protection for models. Plus it unifies the look, and fills in more gaps. After applying a couple coats of acrylic the bases were done, and looked solid with the lines going in logical patterns.
Back to the heads! These now needed refining, sanding, and filling. I did a quick spray of Gold metallic Krylon paint to see how it was gripping the surface, and that allowed me to see where I need to fill more with putty. So some quick setting putty went on and that was sanded down again.
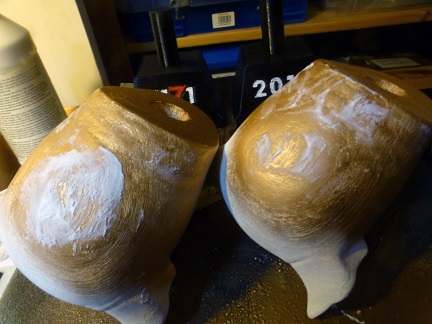
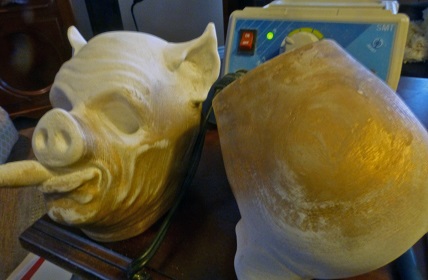
Finally, I got to where I could do a first coat of metal paint. It went on smooth and with few runs, and dried quickly—a real plus! This allowed me to do more sanding and filling, but at this stage, I could tell the process was going to work. The striations were not as exposed, and the sanding was cleaning up the major interest points of the model.
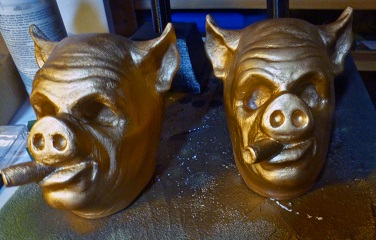
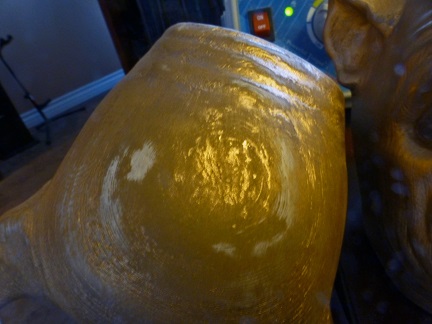
Another coat of paint, then I added some dark spaces to help define the mask look. One more coat of paint, some more shadows. I then mixed up a batch of my super shiny Gold acrylic paint and with a big brush went over the models so this shiny gold would hit the highlights. Once that was dry, I buffed them with a soft cloth to make the trophies as smooth as possible.
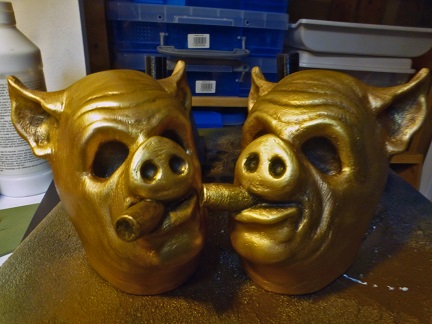
The final stage was adding numerous coats of an acrylic clear coat, to protect and fill in more details, and try to achieve a uniform sheen (that might almost fool somebody’s eye that these were actually made of metal). Once dry the pieces were completed and ready for shipping, they were just buffed a bit more. Can’t do enough buffing!
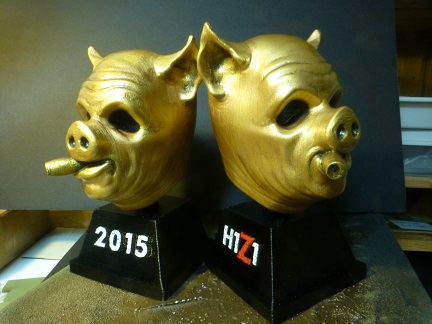
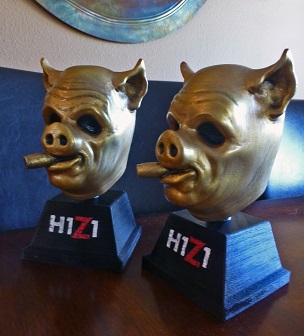
In addition to these trophies for first place, each of the top ten winners in both games will each receive a H1Z1 Invitational Plaque, made by H1Z1's Technical Architect, Greg Spence:
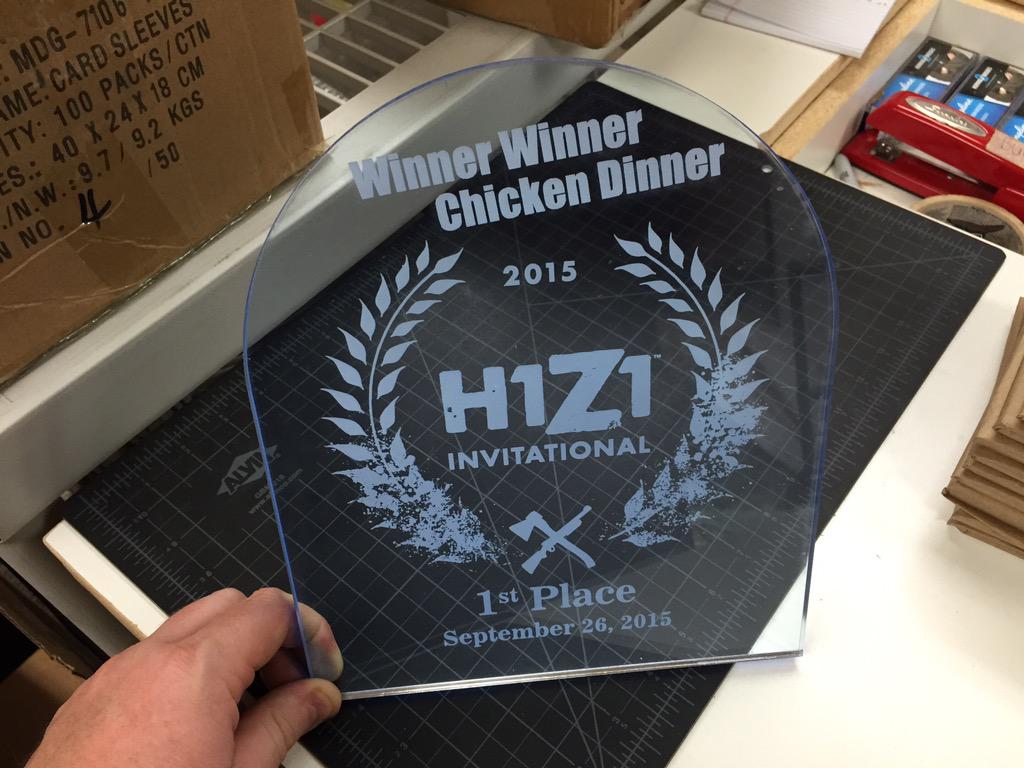
Our H1Z1 BattleRoyale TwitchCon has generated a lot of excitement and a lot of folks have worked hard to make the game the best it can be. I’m hoping that these trophies add to the fun and are indeed “to (not) die for” in BR!
Thanks
Jeff Jonas

Stay Connected and Follow Us on: